
Circling a defect on a photo
Ring what you are pointing at on a photo, on the phone or the web. The circle shows in the report and PDF.
Note
A circle shows your client exactly where a defect is. You add it to a photo on the phone or on the web. The circle is saved into the photo, so it appears in the hosted report and the PDF. Photos only: a video clip can't be circled.
Circle a defect
- 1Open the photo. On an observation, click the photo, then click Circle a defect…. In Rapid Photo/Video Review, use the Circle a defect button on the photo. See Rapid Photo/Video Review.
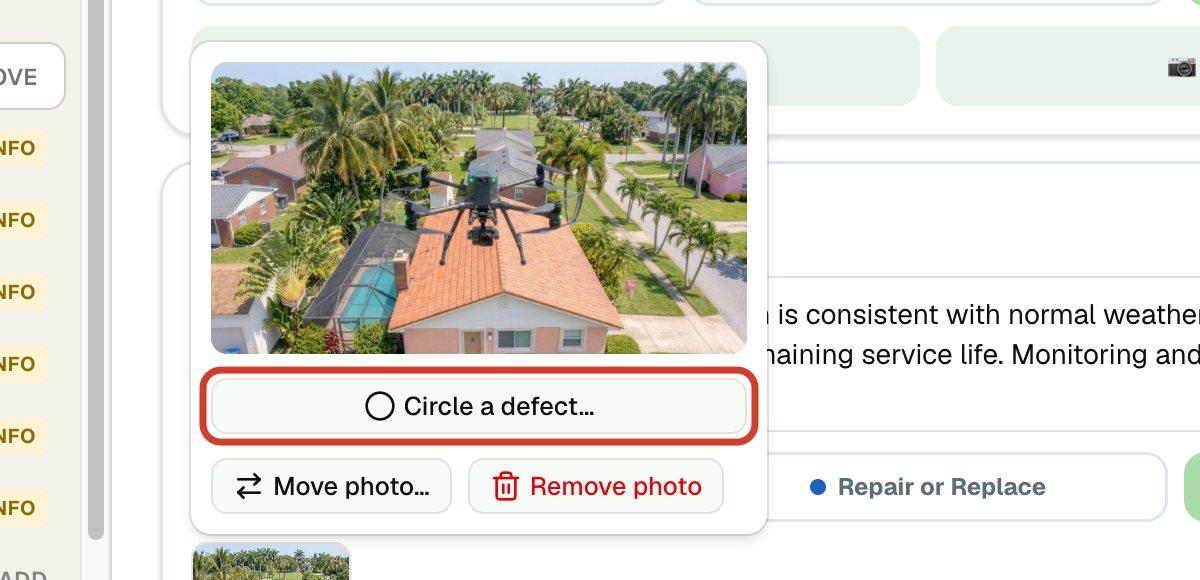
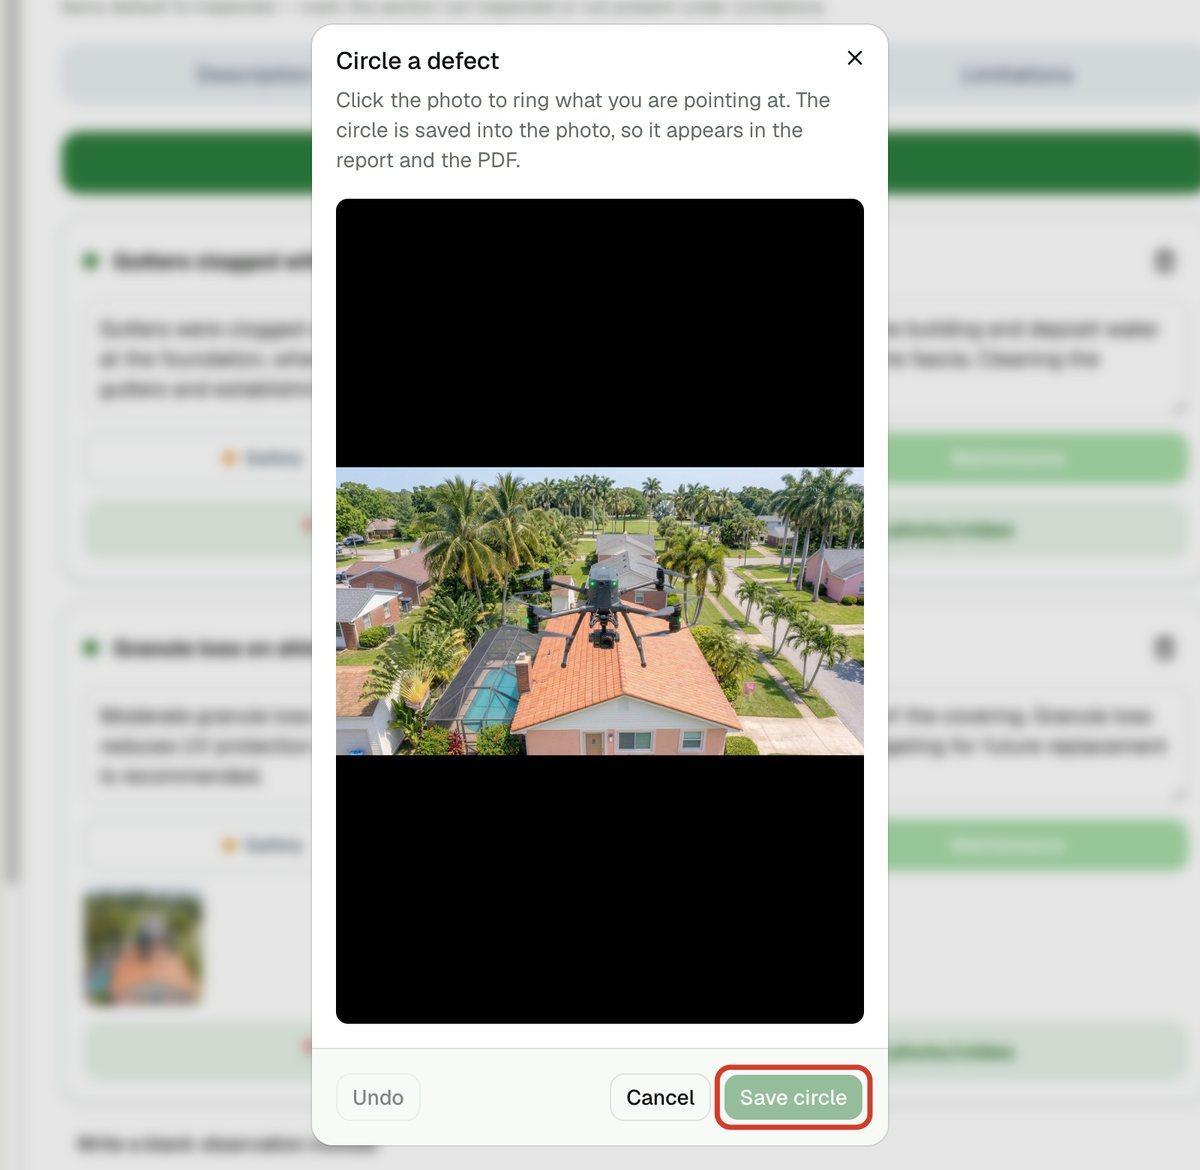
- 2Click the photo where the defect is. A gold ring appears. Click again for more rings.
- 3Made a wrong ring? Click Undo to remove the last one.
- 4Click Save circle. With more than one ring it reads Save circles.
Tip
Rings are a fixed size, so tap the middle of what you want to point at. You can't draw lines or arrows.
What happens to the photo
Nothing changes until you save. Cancel (web) or Close (phone) throws the rings away.
Once saved, the rings are part of the photo, and the photo without them is not kept. You can't remove a ring later, so check your rings before you save.
The photo goes out with its rings in the hosted report and the PDF. See What your client and agent see.