
The 4-point inspection form
Start a 4-point, fill in the roof, electrical, plumbing and HVAC pages with their photos, sign and get the PDF.
Set up your signature and cover page once
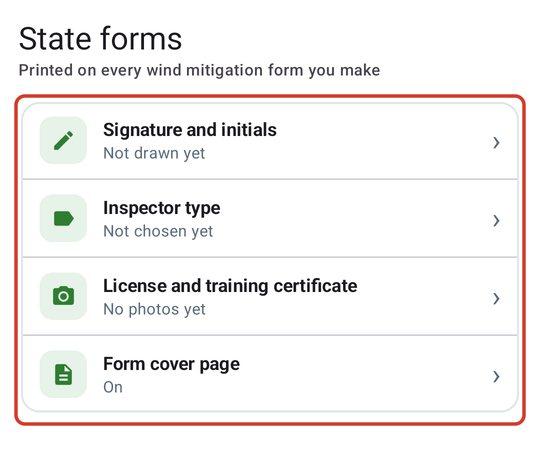
Your signature prints on every 4-point you make, and your name, company, phone, address and license number come from your business details. Fill those in first: see Setting up your business. The signature and cover page are the same ones the wind mitigation form uses, so the full walk-through is in The wind mitigation form.
- 1Open Settings > Your business and scroll to Signature and initials. Draw your Signature and your Initials. They save when you lift the pen. Redraw, Remove and Upload a picture instead change them later.
- 2Under Inspector type, tick what you are qualified as. It is printed as the License type.
- 3Under Form cover page, Add a cover page to the form PDFs is on to start; switch it off if you don't want a cover as page 1. The notice under it reads Notice on the 4-point cover, and you can edit it or leave it blank.
Start a 4-point
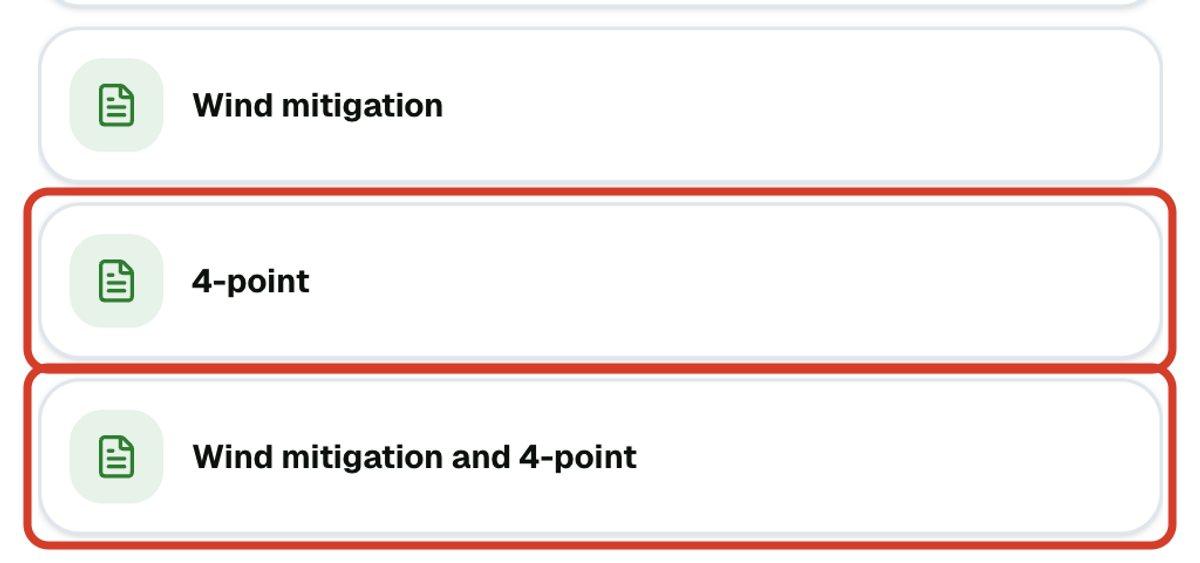
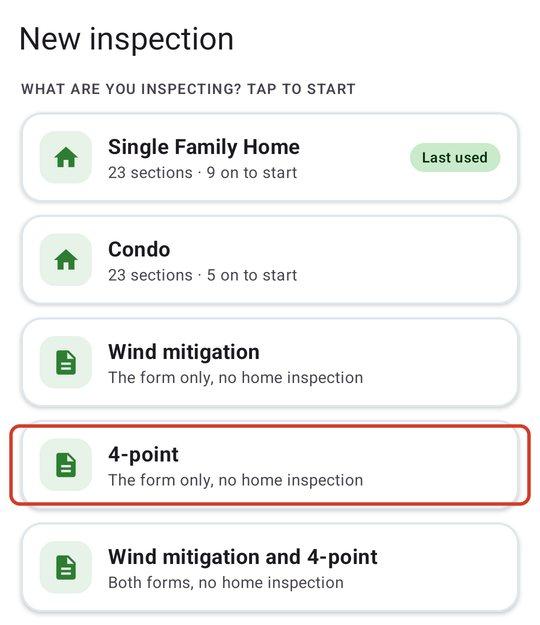
There are three ways to include a 4-point in an inspection. Start one on its own, start it together with the wind mitigation form, or add it to a home inspection you already have open.
- 1Start a new inspection as described in Starting an inspection. Under What are you inspecting?, click 4-point for the form alone, or Wind mitigation and 4-point for both.
- 2To add it to a home inspection instead, open the report and find Forms in the list on the left. Click 4-point, marked + Add.
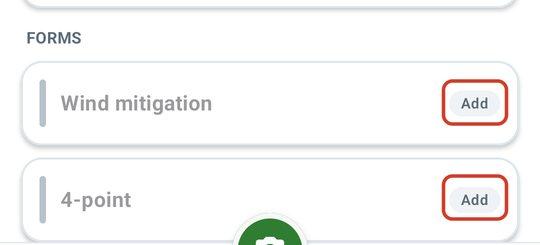
To take the form off a report, use Remove beside it (on the web, open the form first). Your answers are kept and come back if you add it again.
Fill in the form
- 1Open 4-point under Forms. The form is in tabs: General, Electrical, HVAC, Plumbing, Roof, Attachments, Photos and Inspector. A tab shows a check mark once it is answered. Tab moves to the next box and on into the next tab.
- 2Tick the boxes and fill in the details that apply. A ticked box opens the boxes that belong to it, such as Explain.
- 3Go through every tab. Your answers save as you go, and Saved shows at the top.
General holds the insured's name, policy number, address, year built and date inspected, followed by the minimum photo requirements. Electrical covers the main and second panel, wiring and hazards. HVAC and Plumbing hold their yes-or-no questions, and Plumbing also has the fixtures chart marked Satisfactory, Unsatisfactory or N/A. Roof has the Predominant roof and, if there is one, the Secondary roof, each with its leaks.
Boxes and dates follow the form. Type dates as MM/DD/YYYY and years as YYYY. Every box is its own checkbox, so ticking one never unticks another.
On a 4-point added to a home inspection, some observations you add to the inspection tick matching boxes on the form. Check them like any other answer. Text boxes are always yours to fill in.
Add the photos
The form asks for photos of each side of the dwelling, each roof slope, the water heater and its TPRV, plumbing under the cabinets and exposed valves, the main electrical panel with its door label, the electrical box with the panel off, and every hazard you note. They print in the PDF, six to a page, each with its caption.
- 1Open the Photos tab. Click + Import photos to add pictures from your computer. Under Suggested from your inspection, click + Add to the form on a photo already in the report.
- 2Give each photo a Caption. Start typing, or pick from the list, such as Front elevation, Roof slope, or Main panel, cover open. The PDF prints the caption under the photo.
- 3Use the arrow buttons beside a photo to turn it or move it up or down. The order is the order they print. Remove takes it off the form.
A photo with no caption prints without one. The Photos tab flags it with Needs a caption: the PDF prints it under the photo.
Need to include another document, such as a permit report or the appraiser's sketch? Open Attachments and add the image. Each prints on its own page, after the form and before the photos. On the web, click Add an image. On the phone, use Camera or Gallery on that page.
Sign and finish the Inspector tab
Open Inspector last. Add anything else in Additional comments/observations, and check the Date. There is nothing to draw on the form itself: your signature prints on the PDF from the one you saved in Settings, as in the first step.
Create the PDF
- 1At the top of the form, click Download PDF. Your latest answers are saved first.
- 2To print only the roof page of the form, click Roof page only instead.
Answering works offline. Making the PDF needs a signal, like publishing. Publishing the report also saves each form's PDF in the report's Drive folder. For a 4-point on its own, check the PDF with Download PDF, then press Send to client. How publishing and sending work is in Publishing, previewing and sending.
If you work for an inspection company
The company name, address, phone, email, website and logo on the cover page come from your company's details. Your name, license and signature are yours: set them in your own Settings.