
Finding your way around the report editor
The left column, the section list and its marks, the three section tabs and the top bar, in one tour.
The left column
- 1Open a report from Reports. The left column runs top to bottom: Publish (it reads Update report once the report is published), then Start guided flow, Rapid Photo/Video Review, Rapid Voice/Text Entry, View as client and Sharing & access.
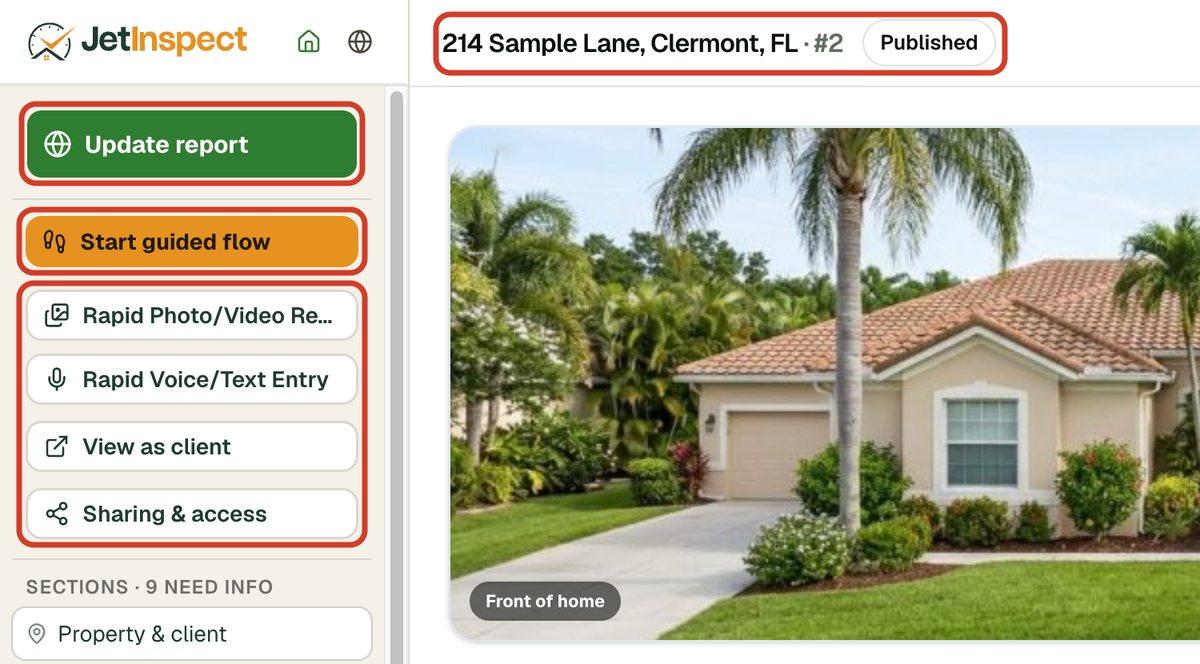
- 2The house icon at the top takes you back to your reports. The globe opens the JetInspect website in a new tab.
What each button does:
- Publish puts the report online for you to check. Update report pushes your later changes. If you haven't sent it yet, Send to client appears beneath it. See Publishing, previewing and sending.
- Start guided flow walks you through the report one step at a time (web only). See Using the Guided flow.
- Rapid Photo/Video Review is for photos and videos you add all at once and then place one after another. A number on the button counts the ones still waiting.
- Rapid Voice/Text Entry is for adding observations by speaking or typing, with no photo.
- View as client opens your client's page in a new tab. See What your client and agent see.
- Sharing & access is where you send or copy the report link.
The section list
Under Sections you see Property & client, Summary, then every section of the report. Click one to open it in the working area. The open one is highlighted.
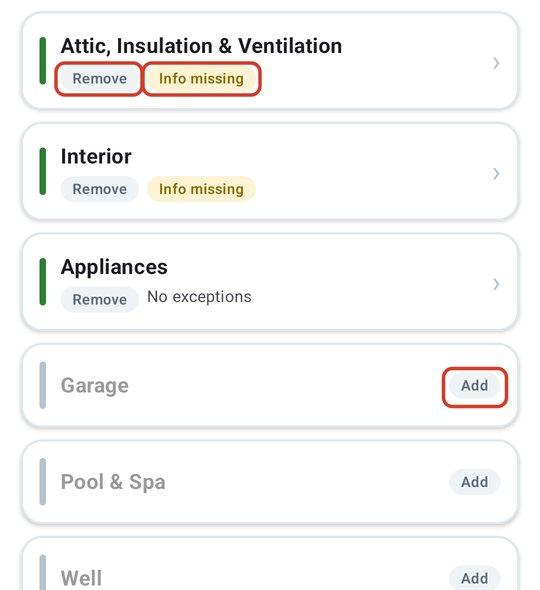
- 1Read the mark on each section. Needs info means something in it is still unanswered. A green check means it is complete. NI or NP means every item is marked not inspected or not present. The heading shows how many sections need info.
- 2A gray section with + Add is not in this report. Click it to add it and open it.
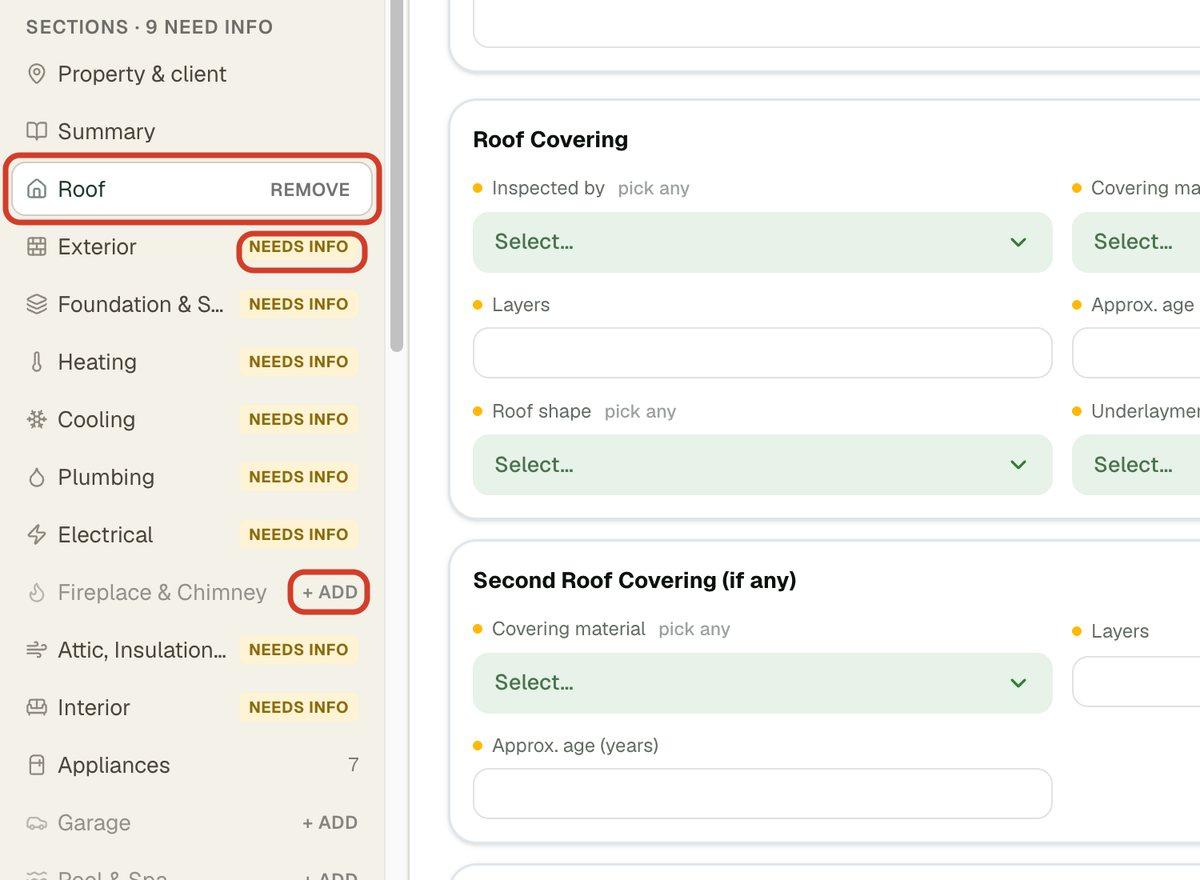
- 3To take the open section out of this report, click Remove beside its name, then confirm Remove section. What you entered is kept and returns if you add the section again.
Which sections a report has comes from its template. See Templates and optional sections.
Work in a section
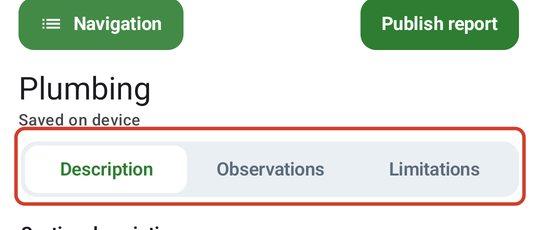
Each section has the same three tabs. The name of the section is the heading, and the number beside Observations counts what you have written in it.
- 1Description: answer the section's questions, and add opening text with Choose from library or in your own words.

- 2Observations: click Add observation to pick from your comment library. Each observation holds its wording and photos. Write a blank observation instead starts from nothing.
- 3Limitations: mark the whole section Not inspected or Not present, and add limitation wording with Choose from library.
Property & client, Summary and Appliances
- 1Property & client holds the cover photo and the Property, Client, Buyer's agent, Seller's agent and Conditions at inspection cards. A new report opens here.
- 2Summary is the opening of the report your client reads first. Tick the paragraphs you want, or write your own. See Writing the summary.
- 3Appliances lists the home's appliances (on the phone, it is on the Appliances section's Description tab). Fill in the brand, model and serial from each data plate, delete any the home doesn't have, and use Add appliance or Add another for extras.
The top bar
On the web, the top bar shows the property address and the report number. If there is no address yet, it shows Report # and the number. Beside it, a badge says Draft or Published. On the right, a status line tells you whether your latest changes are saved, such as Saved to your Drive.
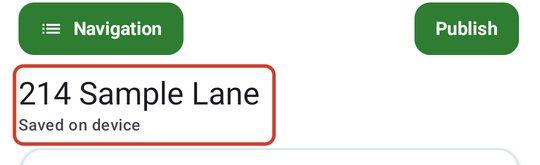
The phone shows the address and a save line under the Publish button. You never press Save. The editor saves as you work.
Where to go next
- Check and send the report: Publishing, previewing and sending.
- See the client's side: What your client and agent see.