
The wind mitigation form
Fill in the Florida wind mitigation form (OIR-B1-1802), add its photos, sign it and get the PDF to your client.
Start a wind mitigation inspection
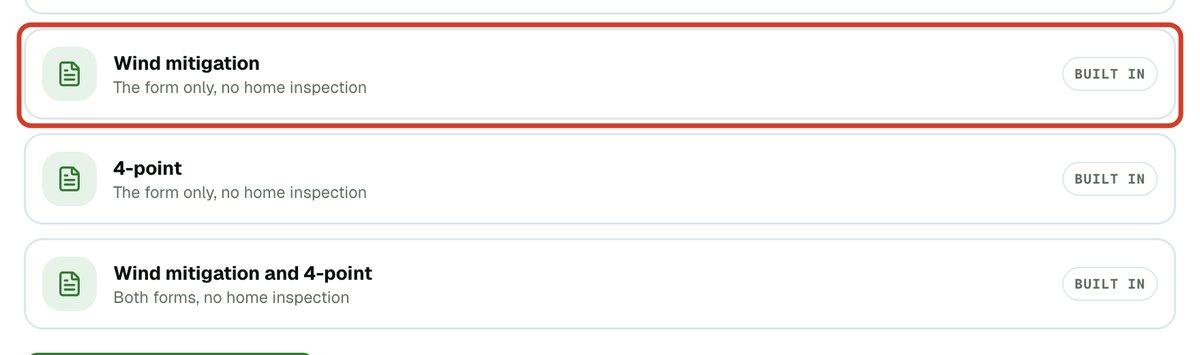
For an inspection that is only the wind mitigation form, pick Wind mitigation when you start the inspection. The report has no home inspection sections: just the form. Wind mitigation and 4-point starts both forms. If you scheduled a wind mitigation inspection, JetInspect starts it for you with nothing to choose. The steps to start are in Starting an inspection.
Add the form to a home inspection
Doing a wind mitigation form on the same visit as a home inspection? Add the form to that report.
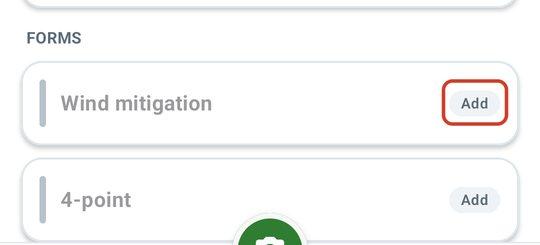
- 1Open the report. In the list on the left, find Forms.
- 2Click + Add beside Wind mitigation. The form opens.
- 3To take it off this report, open it and click Remove. Your answers are kept if you add it again.
Set up your signature and license
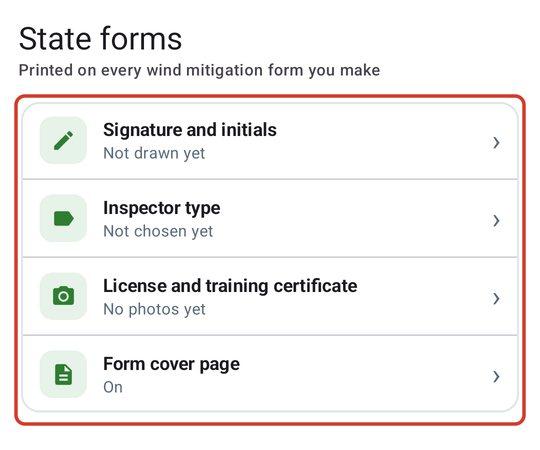
Do this once. Every wind mitigation form you make prints your signature, your initials and your inspector type, and the cover page prints photos of your license and training certificate. Your name, company, phone and license number come from your business details, so fill those in first. See Setting up your business.
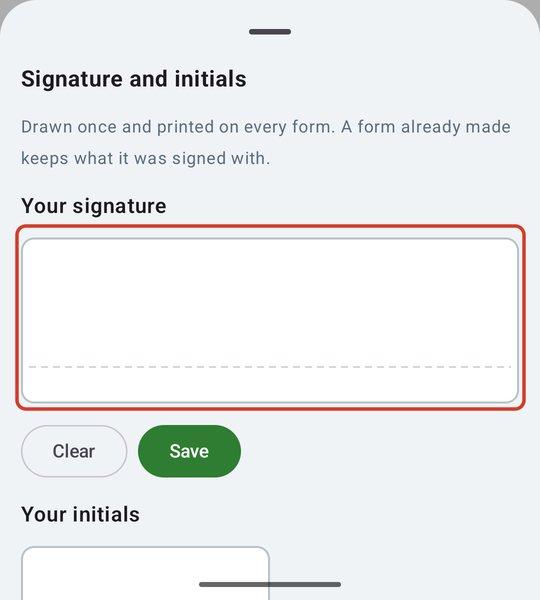
- 1Open Settings and scroll down the Your business page to Signature and initials. Draw your signature in the Signature box and your initials in the Initials box. Each saves when you lift the pen. Redraw and Remove change it, and Upload a picture instead uses a picture of your signature.
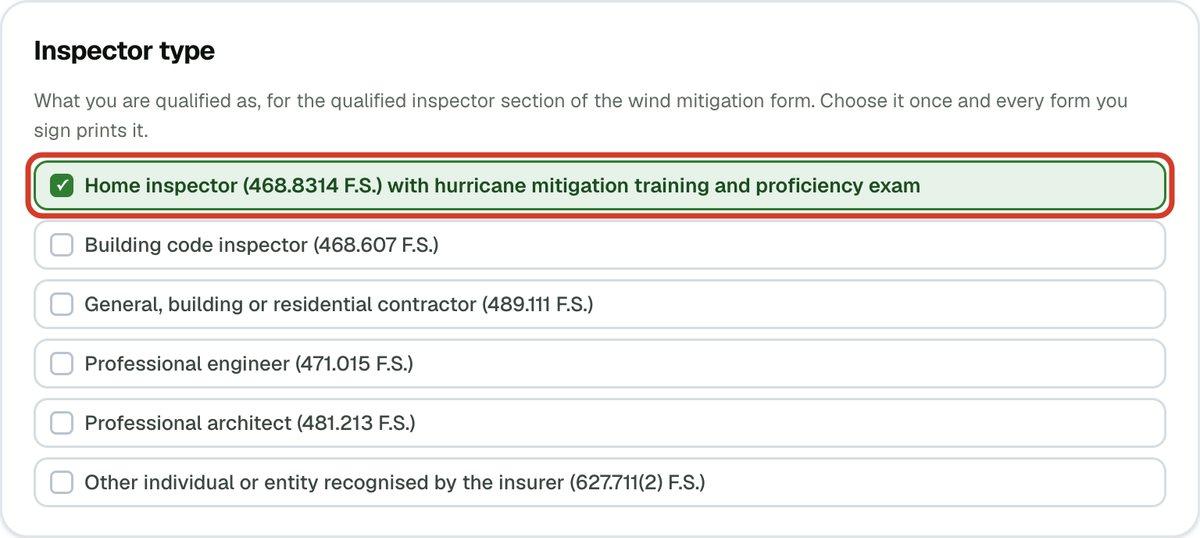
- 2Under Inspector type, tick what you are qualified as.
- 3Under License and training certificate, click Add a photo under Inspector license and under Training certificate. Replace and Remove change them later.
Fill in the form
The form is split into pages that follow its questions: Owner, Code, Region, Slope, Covering, Deck, Roof to wall, Geometry, SWR, Openings, Attachments, Photos and Inspector. Questions use the form's own names, such as 1. Building Code, 5. Roof Deck Attachment and 9. Opening Protection. A ✓ on a page means you answered something there. Your answers save as you go.
- 1Open the form from the list on the left. Click a page name along the top, or use the Next button at the bottom.
- 2Tick the answer for each question. Owner details come from the report's property and client details, marked From Property & client.
- 3The Inspector page shows your name, license number, company and signature from Settings. You do not type them here.
Answering works offline on the phone. The first page also has a property records search that suggests answers for you to use, which needs a signal.
Add the required photos
The form prints photos in order, each with a caption under it. Photos can prove questions 1, 3, 4, 5, 6, 7, 8 and 9. Open the Photos page.
- 1Under Suggested from your inspection, add photos you already took in the report, one by one. They leave the list once added.
- 2For new ones, click + Import photos.
- 3Give each photo a caption. Photos marked Needs a caption print without one until you do. Use the turn and move arrows to fix the picture and the order.
The Attachments page is optional. Add a screenshot of a permit report, the appraiser's sketch or a flood map, and each prints on its own page after the form.
Get the homeowner's signature
Optional. Leave it blank and the PDF prints an empty line to sign by hand. It is usually signed on the phone at the house.
- 1On the last page, draw in the Homeowner (or representative) signature box.
The cover page
Page 1 of the PDF can be a cover with your logo, company, the client's details and your credentials. The state form itself is never changed. It is on unless you switch it off, for every form you make.
- 1In Settings, find Form cover page. Add a cover page to the form PDFs is on to start; switch it off if you don't want a cover.
- 2Edit the Notice on the wind mitigation cover if you want different wording. Leave it blank to print no notice. It saves when you click away.
Get the PDF to your client
To check the form first, make the PDF. Then publish, which saves the finished PDF to the report's Google Drive folder and gives your client a link to download it.
- 1On the form, click Download PDF to check it.
- 2Click Publish.
- 3For a wind-mitigation-only inspection, JetInspect says it is not sent yet. Click Send to client when you are happy with the PDF.
Publishing and sending are explained in Publishing, previewing and sending. If you can only work offline for now, see Working with no signal.
If you work for an inspection company
Your signature, initials, inspector type, license and certificate belong to you, like your license number. Nobody else in your company can use them.