
Setting up your business
Your name, company, license, contact details, logo, brand color and badges, on every report.
Add your company information
- 1Open Settings. Your business opens first.
- 2Under Company information, fill in your name, company name, phone, contact email, license number and state, website and business address.
- 3Click Save profile.
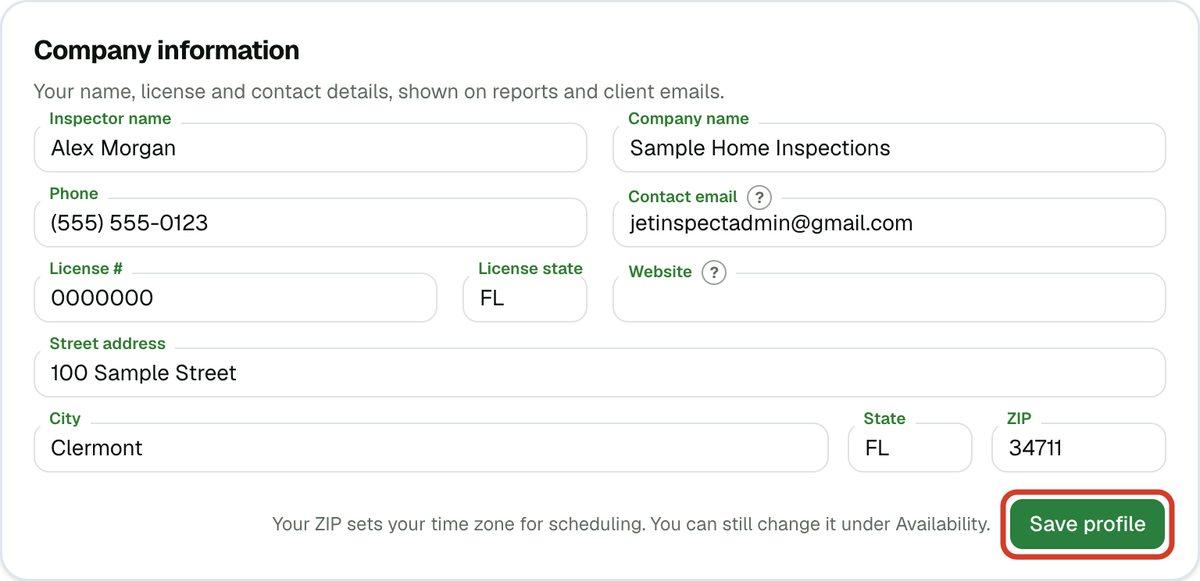
Your ZIP sets your time zone for scheduling. You can change the time zone later under Availability.
Add your logo
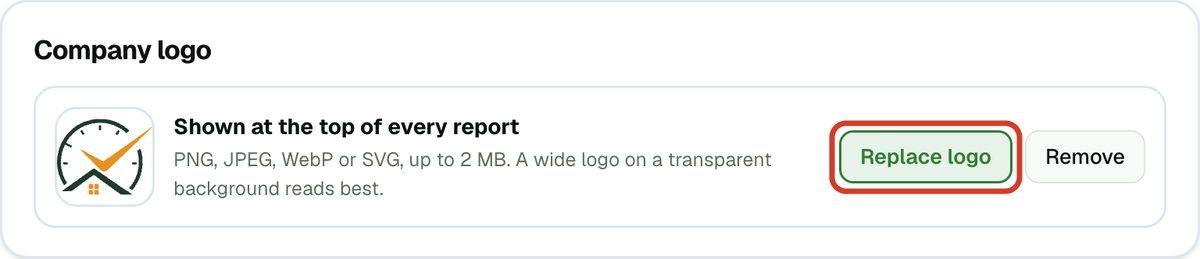
- 1Under Company logo, click Upload logo and choose the file. Once you have one, the button reads Replace logo, and Remove takes it off.
Pick your brand color
Your brand color is used for the buttons, icons and heading lines on your reports, your PDF and your website. This is done on the web.
- 1Under Brand color, click a color. The ones under From your logo are taken from your logo, and JetInspect marks one of them Suggested. You can also pick one of the Other colors, or type a color code and click Use this color.
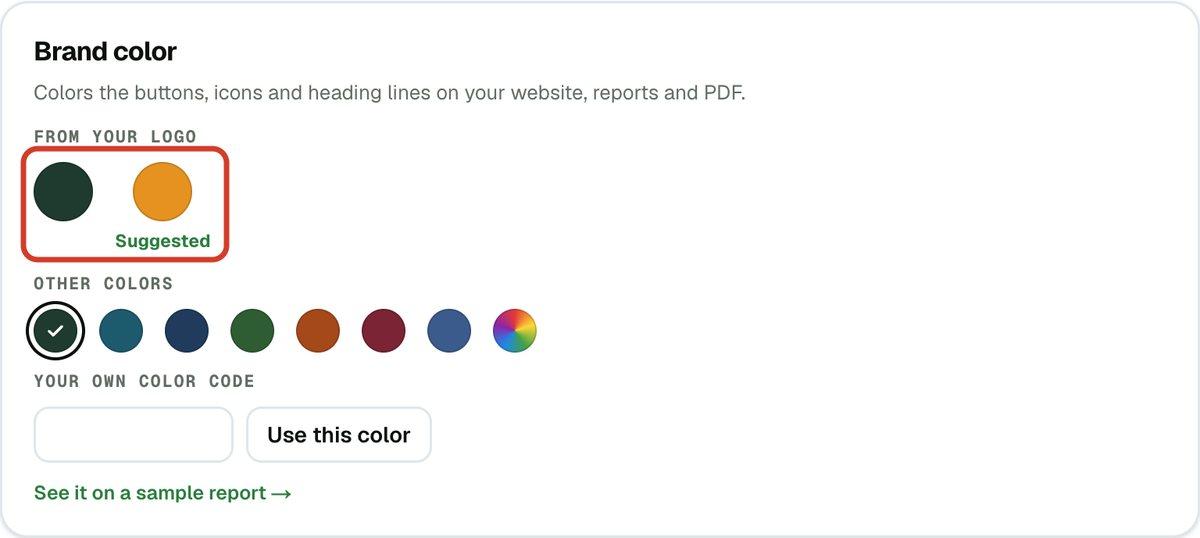
- 2Click See it on a sample report to check how it looks.
Add your certification badges
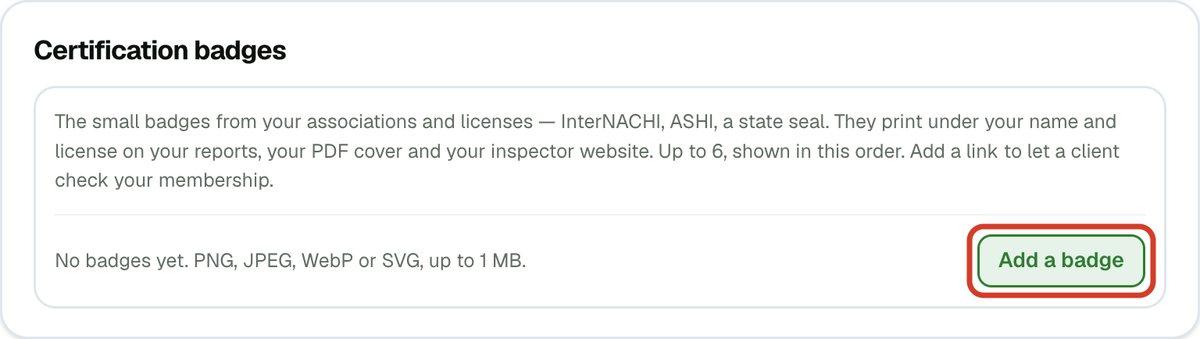
Badges from your associations and license, such as InterNACHI, ASHI or a state seal, appear under your name and license number on your reports, your PDF cover and your website. This is done on the web.
- 1Under Certification badges, click Add a badge and choose the image: a PNG, JPEG, WebP or SVG file up to 1 MB. You can add up to 6.
- 2To let clients check your membership, paste the address of your verification page into the badge's Link box.
What your clients see
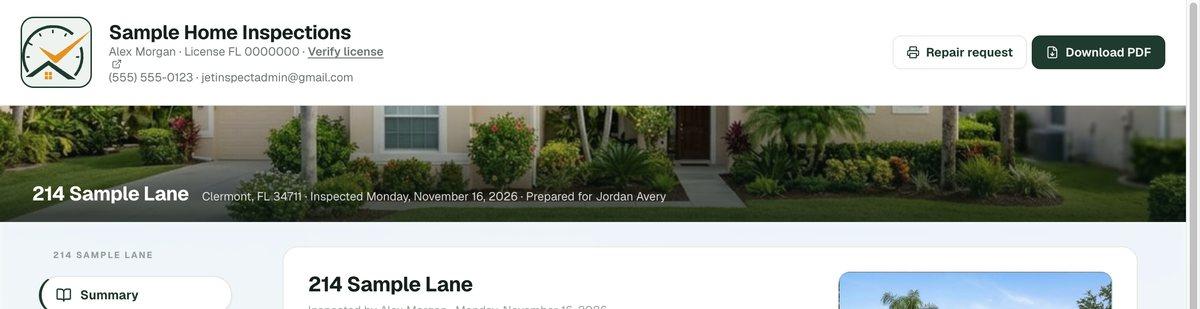
If you work for an inspection company
The company's owner sets the company name, logo, contact details, address and brand color for everyone. You fill in only your own name and license number. In Settings, you'll see Set by and your company's name. On the phone, the company's details are shown but can't be changed.