
Scheduling an inspection or sending a quote
Enter the client and property, pick services and a time, and the client gets their quote and appointment page.
Open the form
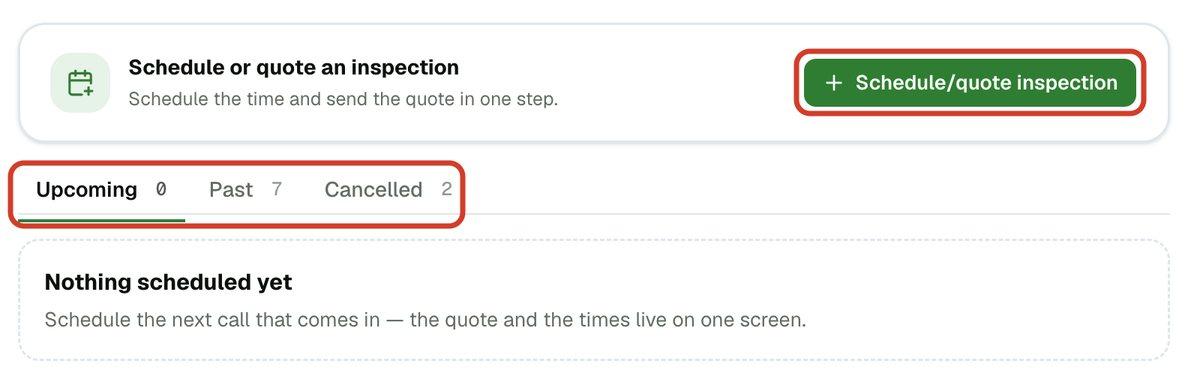
- 1On the Dashboard, click Schedule/quote inspection. Or open Appointments and click Schedule/quote inspection there.
Enter the client and the property
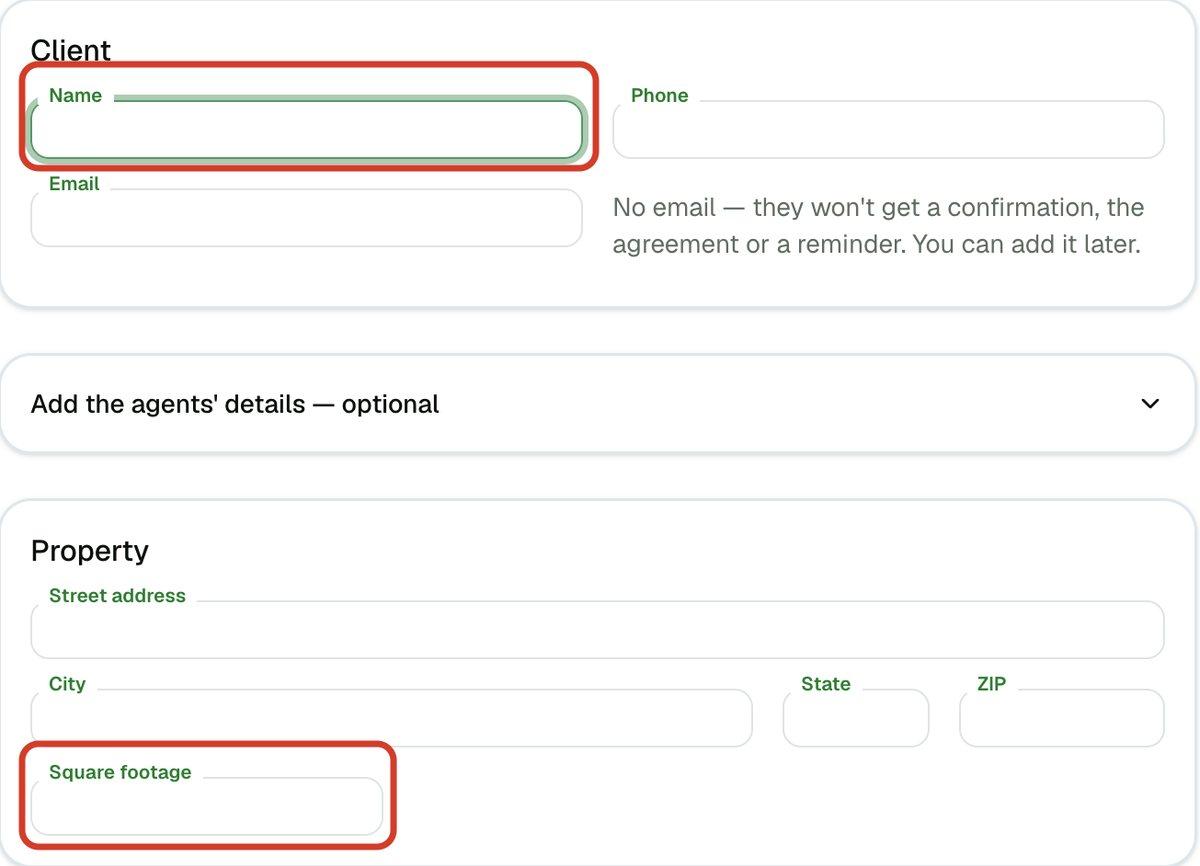
- 1Under Client, enter Name, Phone and Email.
- 2Optional: open Add the agents' details — optional and fill in the Buyer's agent and Seller's agent.
- 3Under Property, enter the Street address, City, State and ZIP, then the Square footage.
Pick the services and see the price
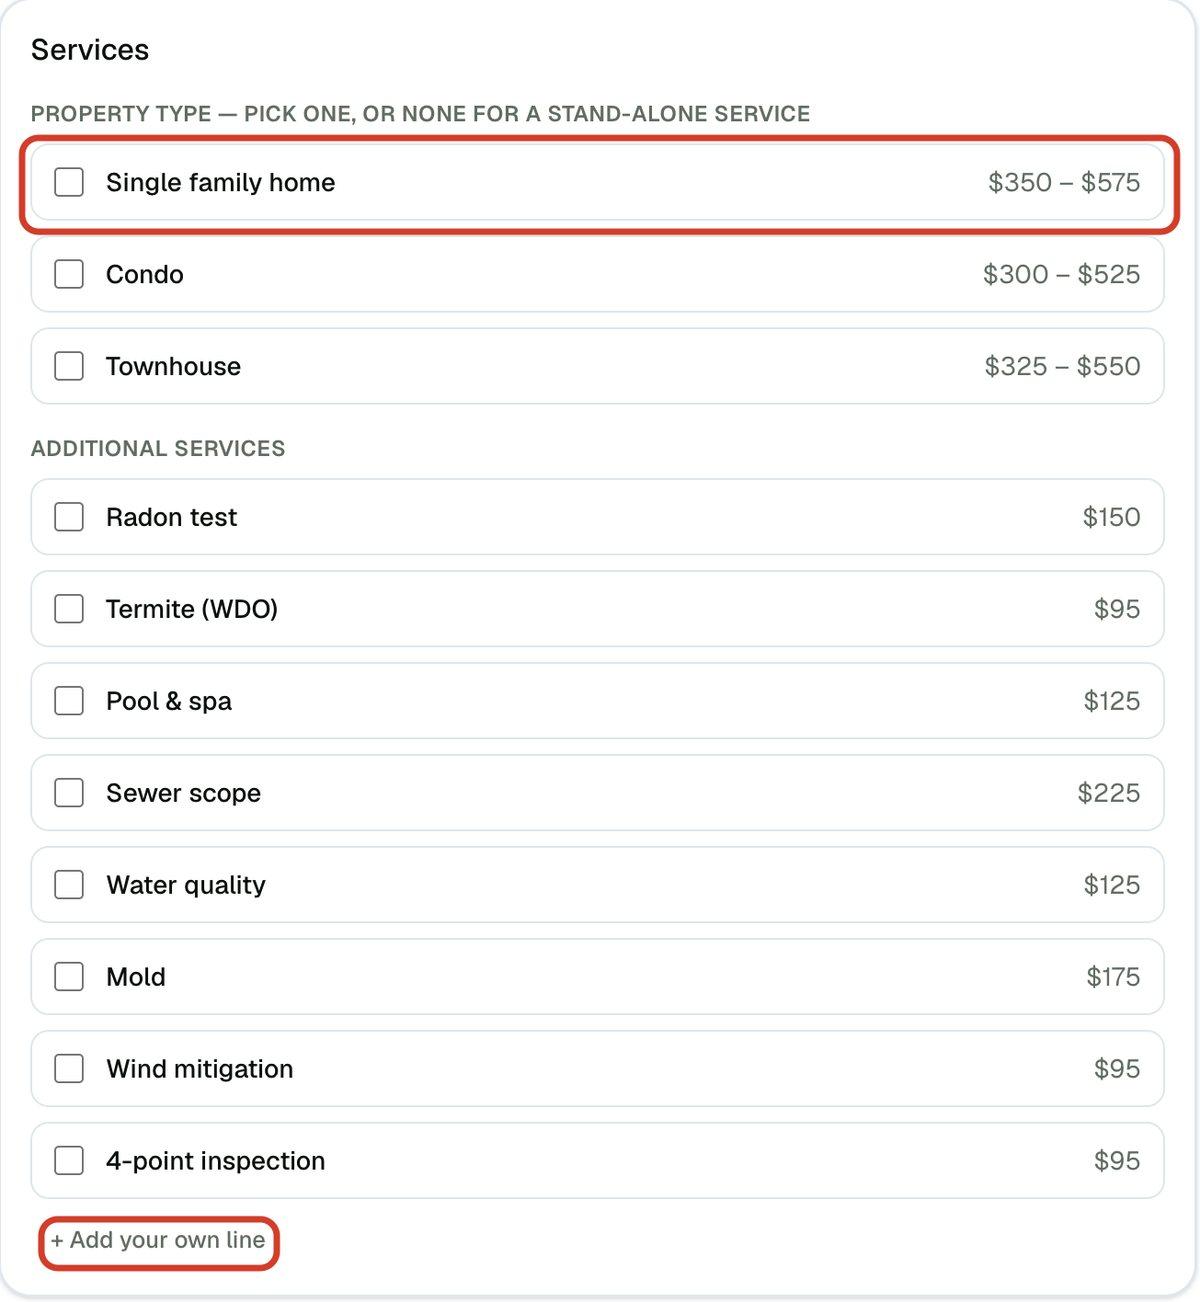
- 1Under Services, tick one property type, or none for a stand-alone service such as a 4-point. Ticking a second property type swaps the first.
- 2Tick any Additional services. Each row shows its price from your price sheet.
- 3To charge for something that isn't on your sheet, click + Add your own line and enter what it is for and the amount.
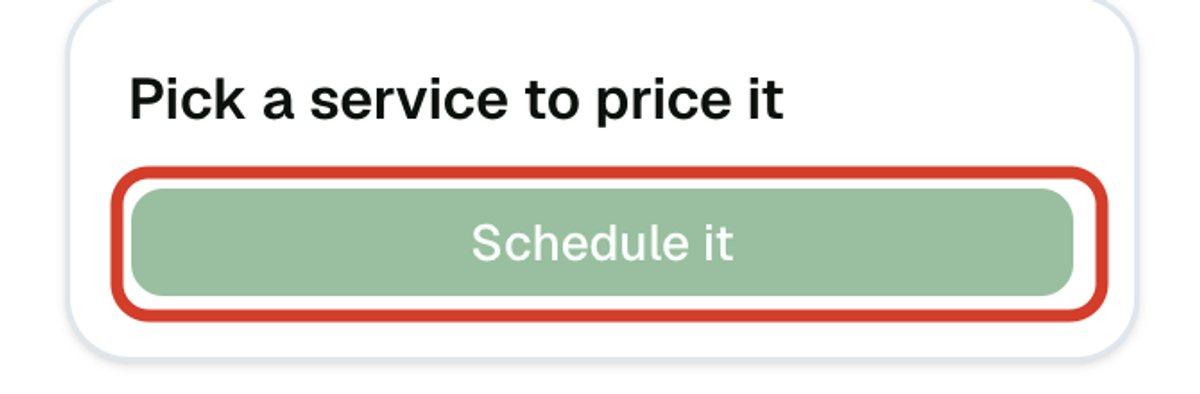
- 4The total shows beside the form, at the bottom on a narrow screen. If it says something like Enter the square footage to price it, fill in that field.
If you price a travel fee By distance, it ticks itself on a new quote once the property is beyond your free miles. Under it you see the miles and minutes each way from your business address. Untick it to waive the fee for this quote. See Charging a travel fee by distance.
If you haven't set up prices yet, the phone says No prices set up yet. You can still schedule the inspection and type each price yourself.
Choose a time
- 1Under When, click a time under Next available. These come from your availability. For another day, use Need a specific day?.
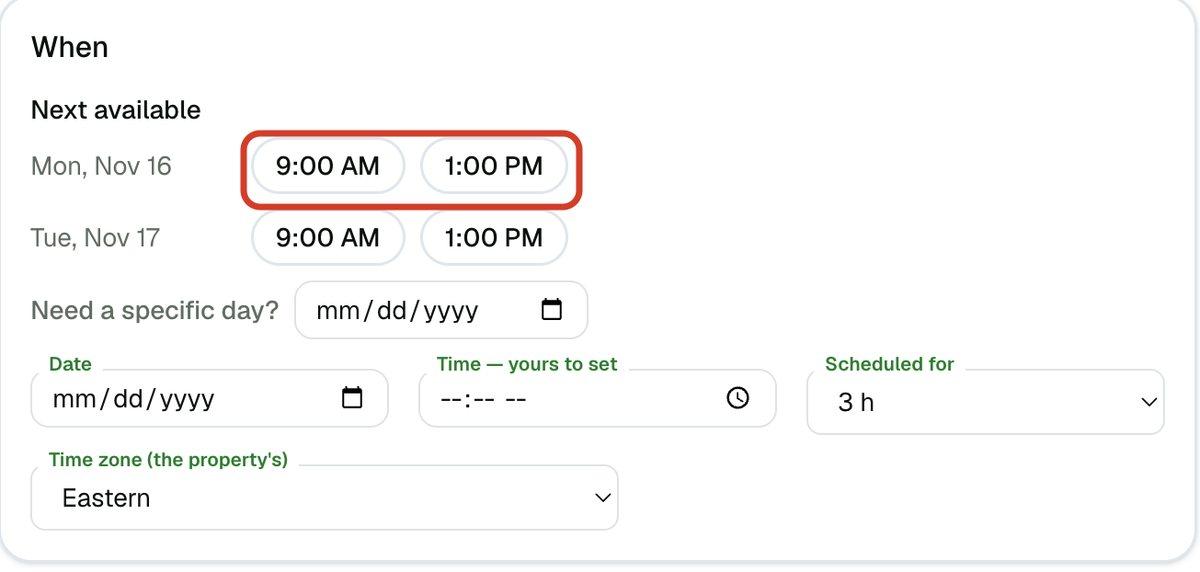
- 2Or set Date and Time — yours to set yourself. Any time works, not just the offered ones.
- 3Set Scheduled for to the time you want to block on your calendar.
- 4Check Time zone (the property's).
If the time runs into another job once travel is counted, an amber Overlaps another job notice appears. It is a warning only. You can still schedule it.
Schedule it and send the quote
- 1Click Schedule it.
- 2You land back on Appointments, with the inspection under Upcoming.
There is no separate send step. When you schedule, JetInspect emails the client at once: what's included, the price, the date and time, and a link to their appointment page. That page holds the inspection agreement to sign and, later, their report. It also offers card payment if you have set that up (see Taking card payments). Any agents you listed get the date and address, without prices. You get a copy too, and the time goes on your calendar.
Just quoting? Save with no client email. Nothing is sent, and you can add the email later.
Find it later and start the report
- 1Open Appointments. Use the Upcoming, Past and Cancelled tabs.
- 2On the day, click Start the inspection report. Pick a template. The client, agent and address carry over.
- 3Once started, the button reads Open the report and the row shows Report started.
- 4To change the quote or time, click Edit quote, then Save changes.
Clients can also schedule themselves online; that is covered in Setting your availability. Those arrive under Needs you on the Appointments page so you can check the property type and square footage.