
Choosing the towns you serve
List the towns you cover, and see them on your website's service area and in its search description.
List your towns
- 1Open Settings and click the Website tab.
- 2Find About you. In Towns and cities you serve, type each town and separate them with commas, like Melbourne, Palm Bay, Viera.
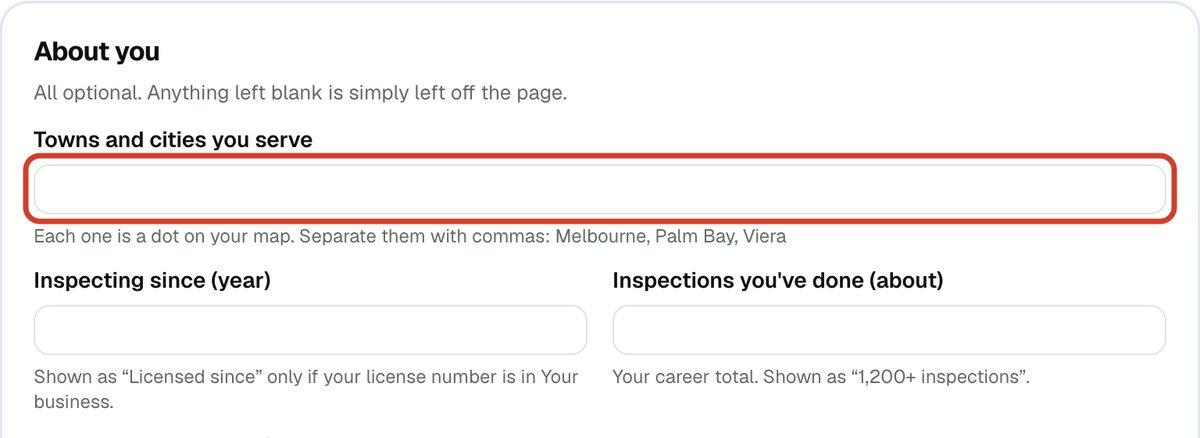
- 3On the one-page website, click Save website. On a premium website, the towns save when you click out of the box.
Where your towns show
On the one-page website, they appear in an Areas served band, one tag for each town. A premium website shows them on its Schedule page, in an Areas we serve map with your town at the center and every listed town marked. A visitor can type a ZIP code to see its distance from you, then pick a time. The map never turns a home away: distance is only a guide.
Your towns also go into the description that search engines show under your website's name, so someone searching for a home inspector in a nearby town can find you. To get the most from that, see Getting found on Google.
Change how far the map reaches
This is for premium websites. In the website editor, open the Schedule tab, choose the Areas we serve section and use How far the rings reach, in miles. Leave it empty and the map reaches a little past your farthest town, which suits most inspectors.
If you work for an inspection company
Your company's owner creates and publishes the company website from the owner's account. If you are an inspector or office staff, Website shows who set it up and you can't change the towns.